Printmaking
In week one of printmaking, I learnt the basic principles of what we would be doing and learnt how to use the eagle press machine. I found this very informative. Marcia showed us how to lino cut and I had the opportunity to practice some cutting.


During my second printmaking session I learnt how to screen print. Firstly, I printed an open screen using one colour. I then created stencils from newsprint to place on the screen. I really liked the simple effect of this. Finally, I created patterns on the screen print using acrylic paint. I loved the faded effect I achieved on my last screen print from not adding any more acrylic paint to the screen.
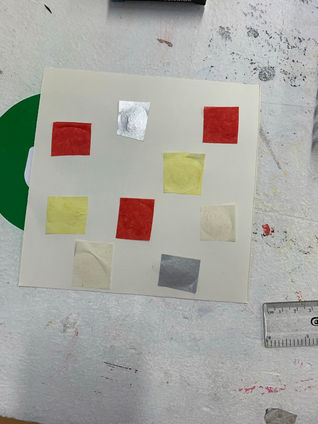
Here are the chine colle's I made during week three of printmaking. I cut tissue paper into different shapes and sizes to print my lino cut onto.


Here is my final lino cut ready to be printed. I decided to take elements from the album cover section I was given to create my own design. I identified a small sun with a face in the corner, which I really wanted to include in my linocut. There was also lots of swirly lines across the bottom of the album cover, which I thought could represent waves. My idea was for the sun to look as if it is peeking into the ocean; the perspective being just below the waters surface. The loops I have cut into my lino represent the waves. I was quite happy with my lino cut, however If I were to do this again, I would not cut away as much as I have. I feel as though there is too much negative space.

Instead of just making one colour prints, I also made some two colour prints, I really like the effect this had from mixing both red and white on the roller.
Final Prints


Tote bag making workshop

I really enjoyed the tote bag workshop I took part in during creative industries week. I decided to make a print of my dog, as i thought she would look great on a tote bag. This is the sketch I made before transferring the drawing onto my lino. I hightlighted all the areas I would be cutting out of the lino


This is my final lino cut, I decided to add a border to ground the drawing a bit more, making it look less like a floating head. I printed the lino onto newsprint first, before printing it onto my tote bag. I used a wooden spoon to press down on the lino plate and transferred it onto the newsprint. After liking the result I decided to go ahead and print straight on the bag


I really love the finished product. I had to apply a lot more ink to my roller as the bag absorbs more ink than the paper. After a few days of drying my bag was ready to be used


